Quickstart
Publish an agent in the console and talk to it, then call it from code.
By the end of this page you will have an organization, a workspace, an agent with a published version, and a session you talked to — first in the console, then over the API.
Everything up to the last section happens in the browser, at console.us.cloud.subako.ai — the console of Subako Cloud, which these docs describe. See Subako Cloud and other deployments for the others.
Set up your organization
Create the organization
On the console’s sign-in page, choose Create an organization. Create an account (or sign in with one you have), then pick the organization’s handle and name.
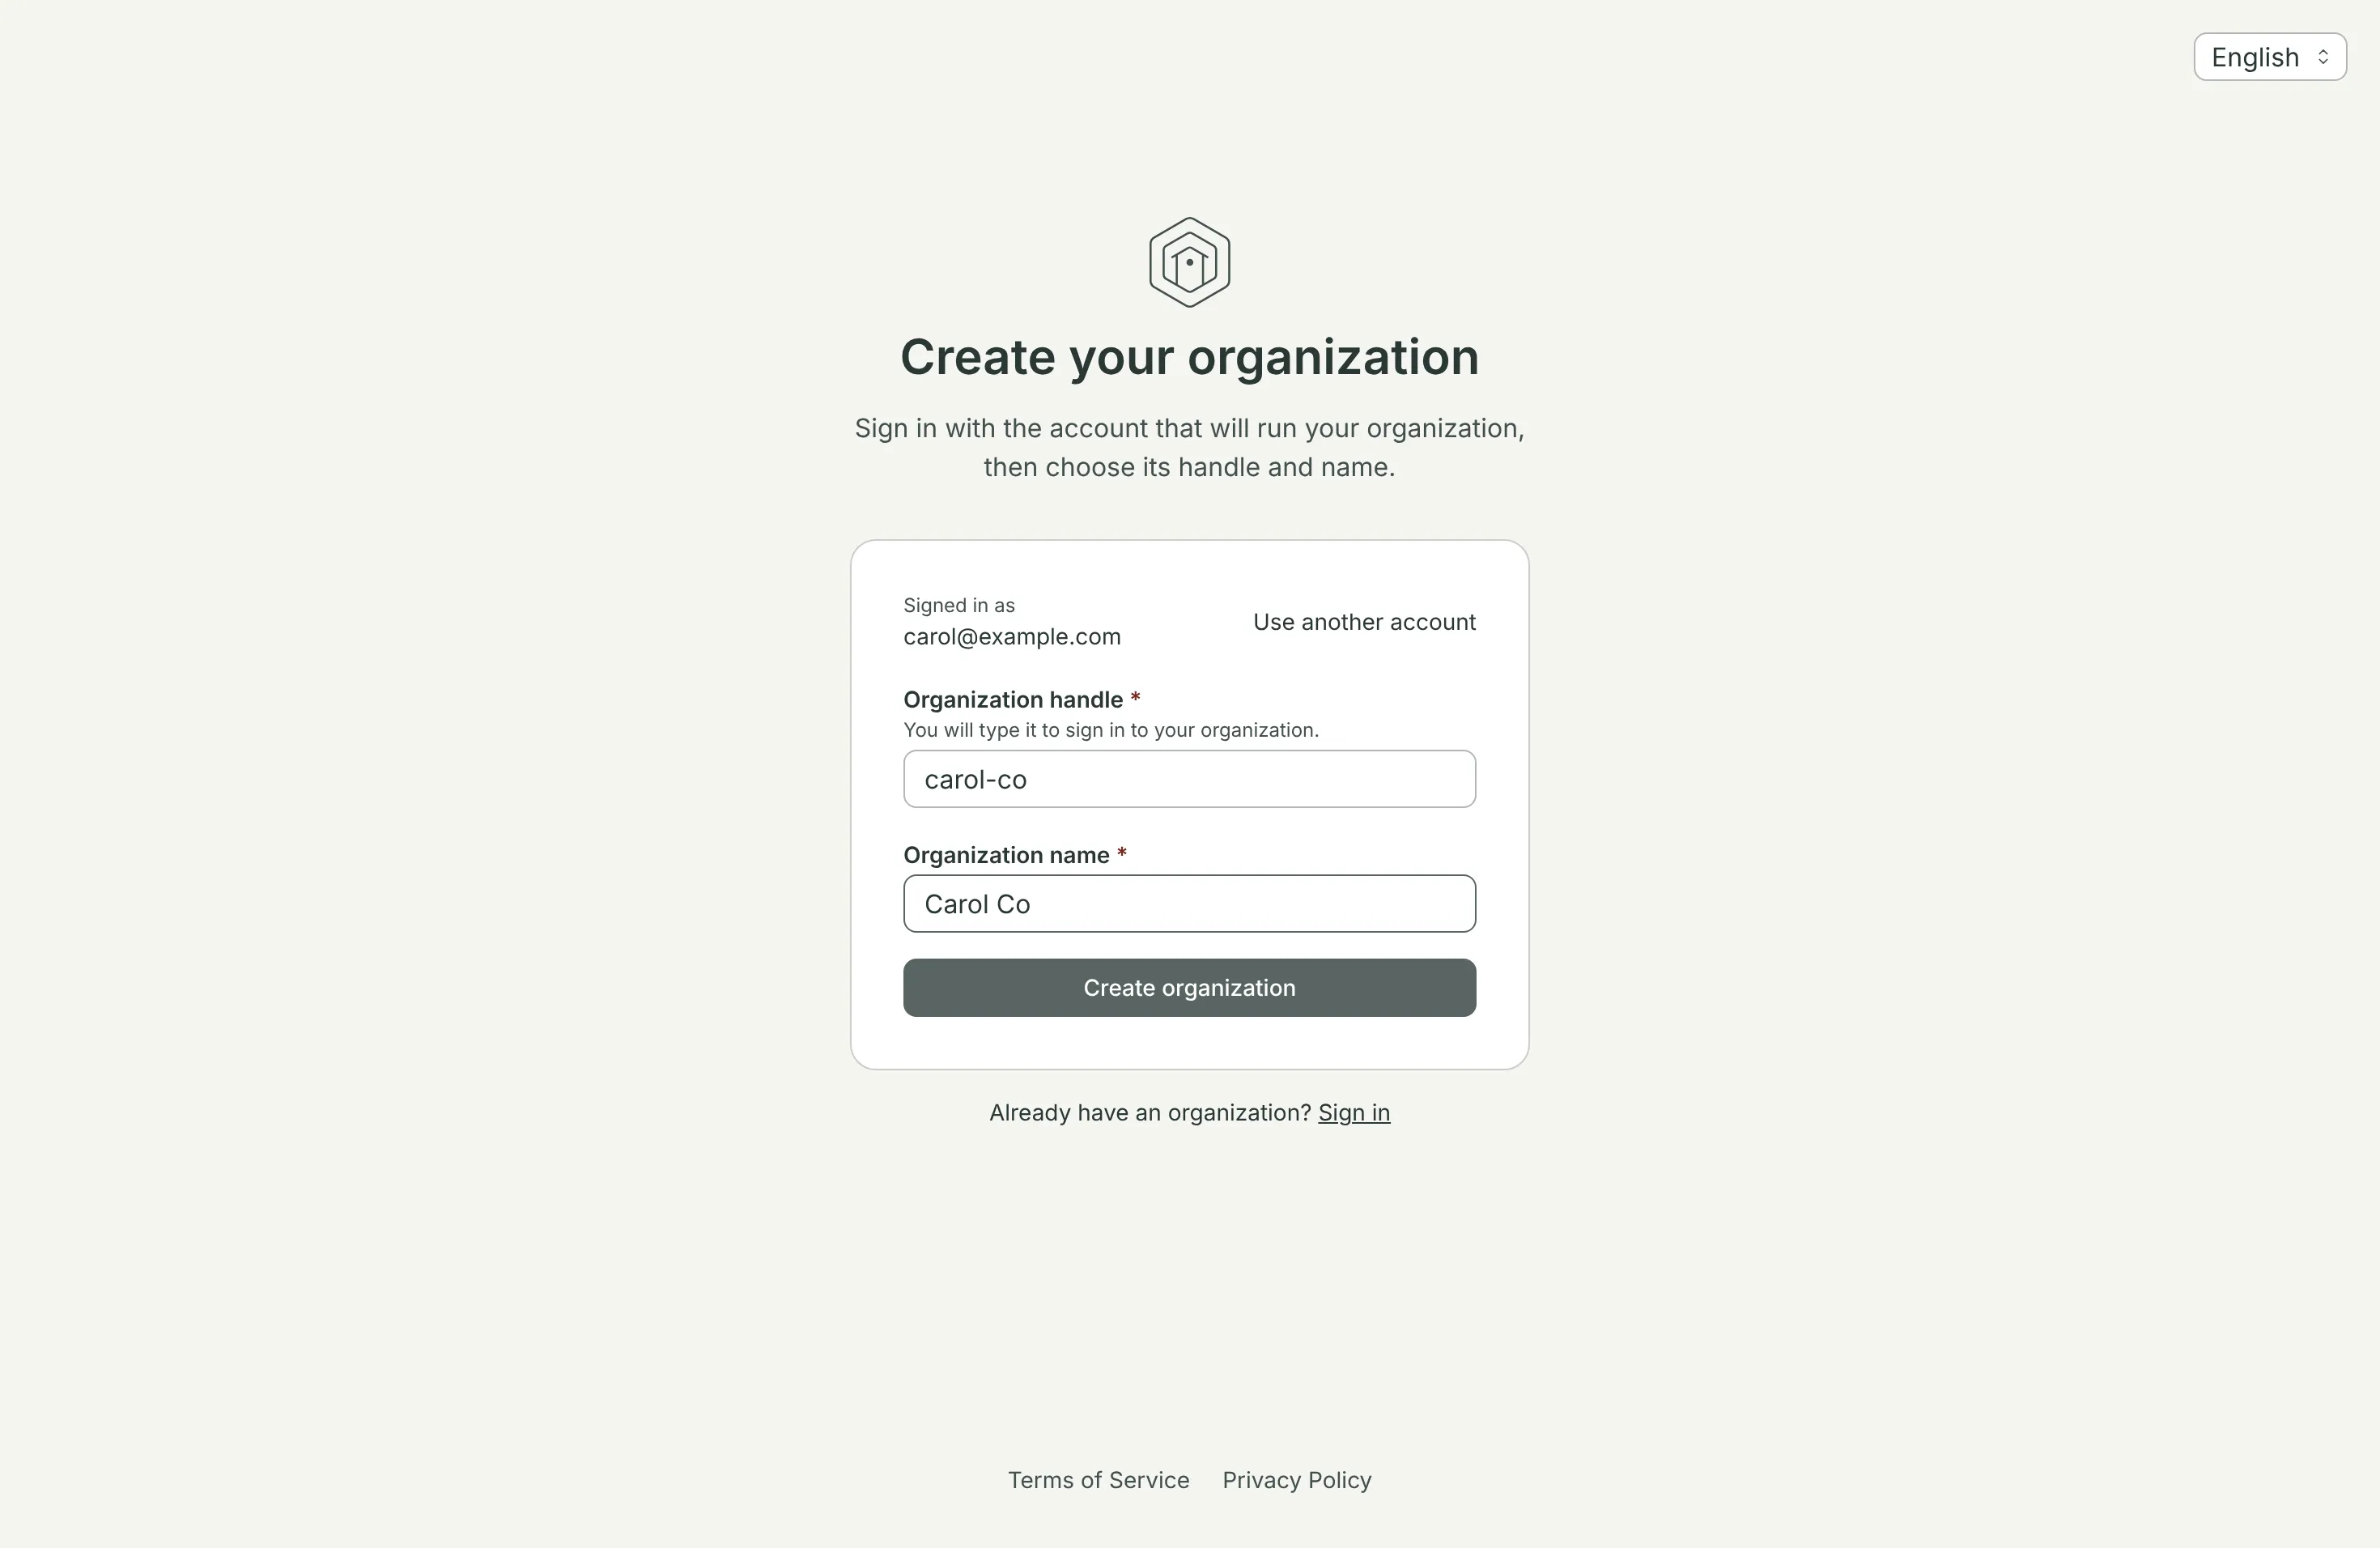
The handle is how the organization is known: it is unique, you type it every time you sign in, and it cannot be changed later. The name is only for display, and you can rename it at any time.
The account you sign up with is your Subako account: the same one signs in to every organization you create or join later.
A new organization starts on the Free plan with 500 SC of credit to try things with — see Plan and usage.
Sign in to it
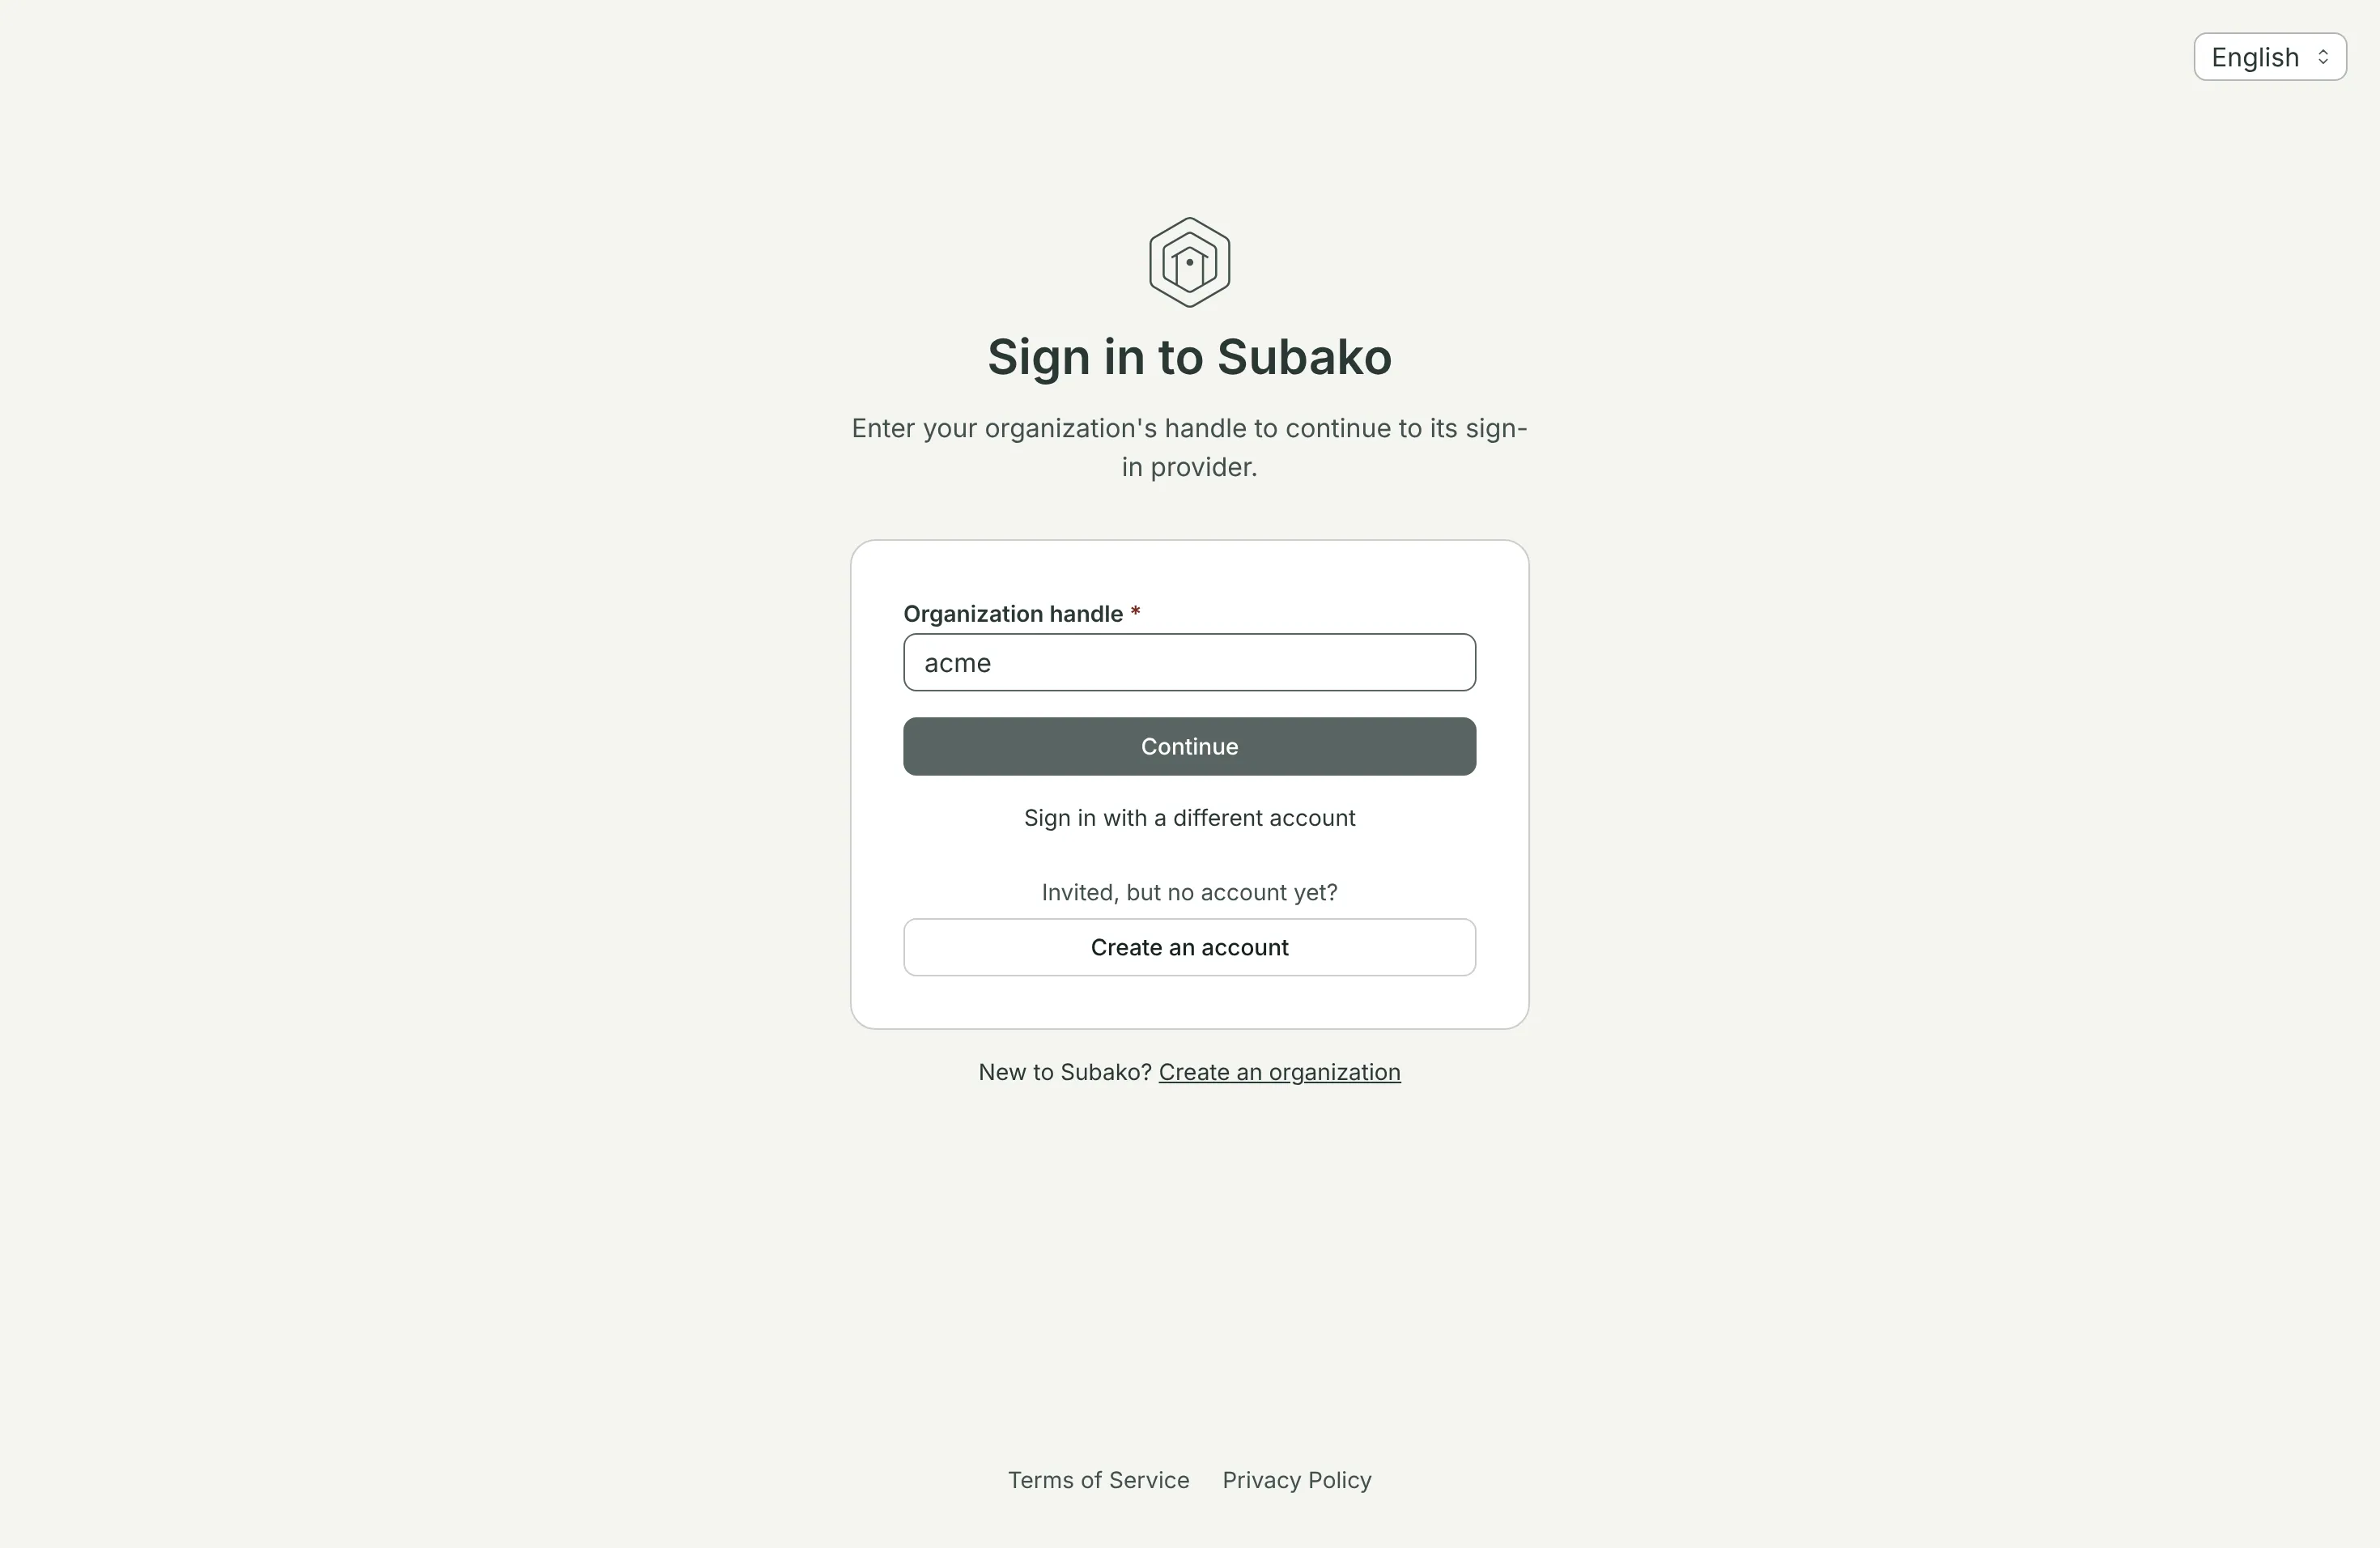
Create organization invites you as its first admin. Choose Sign in to …, or later, type the handle on the sign-in page and Continue.
Create a workspace
Everything an agent uses lives in a workspace: the agent itself, its sessions, model providers, vaults, skills, functions, and API keys. Open Manage workspaces (the gear beside the sidebar’s workspace picker), type a name, and Create workspace.
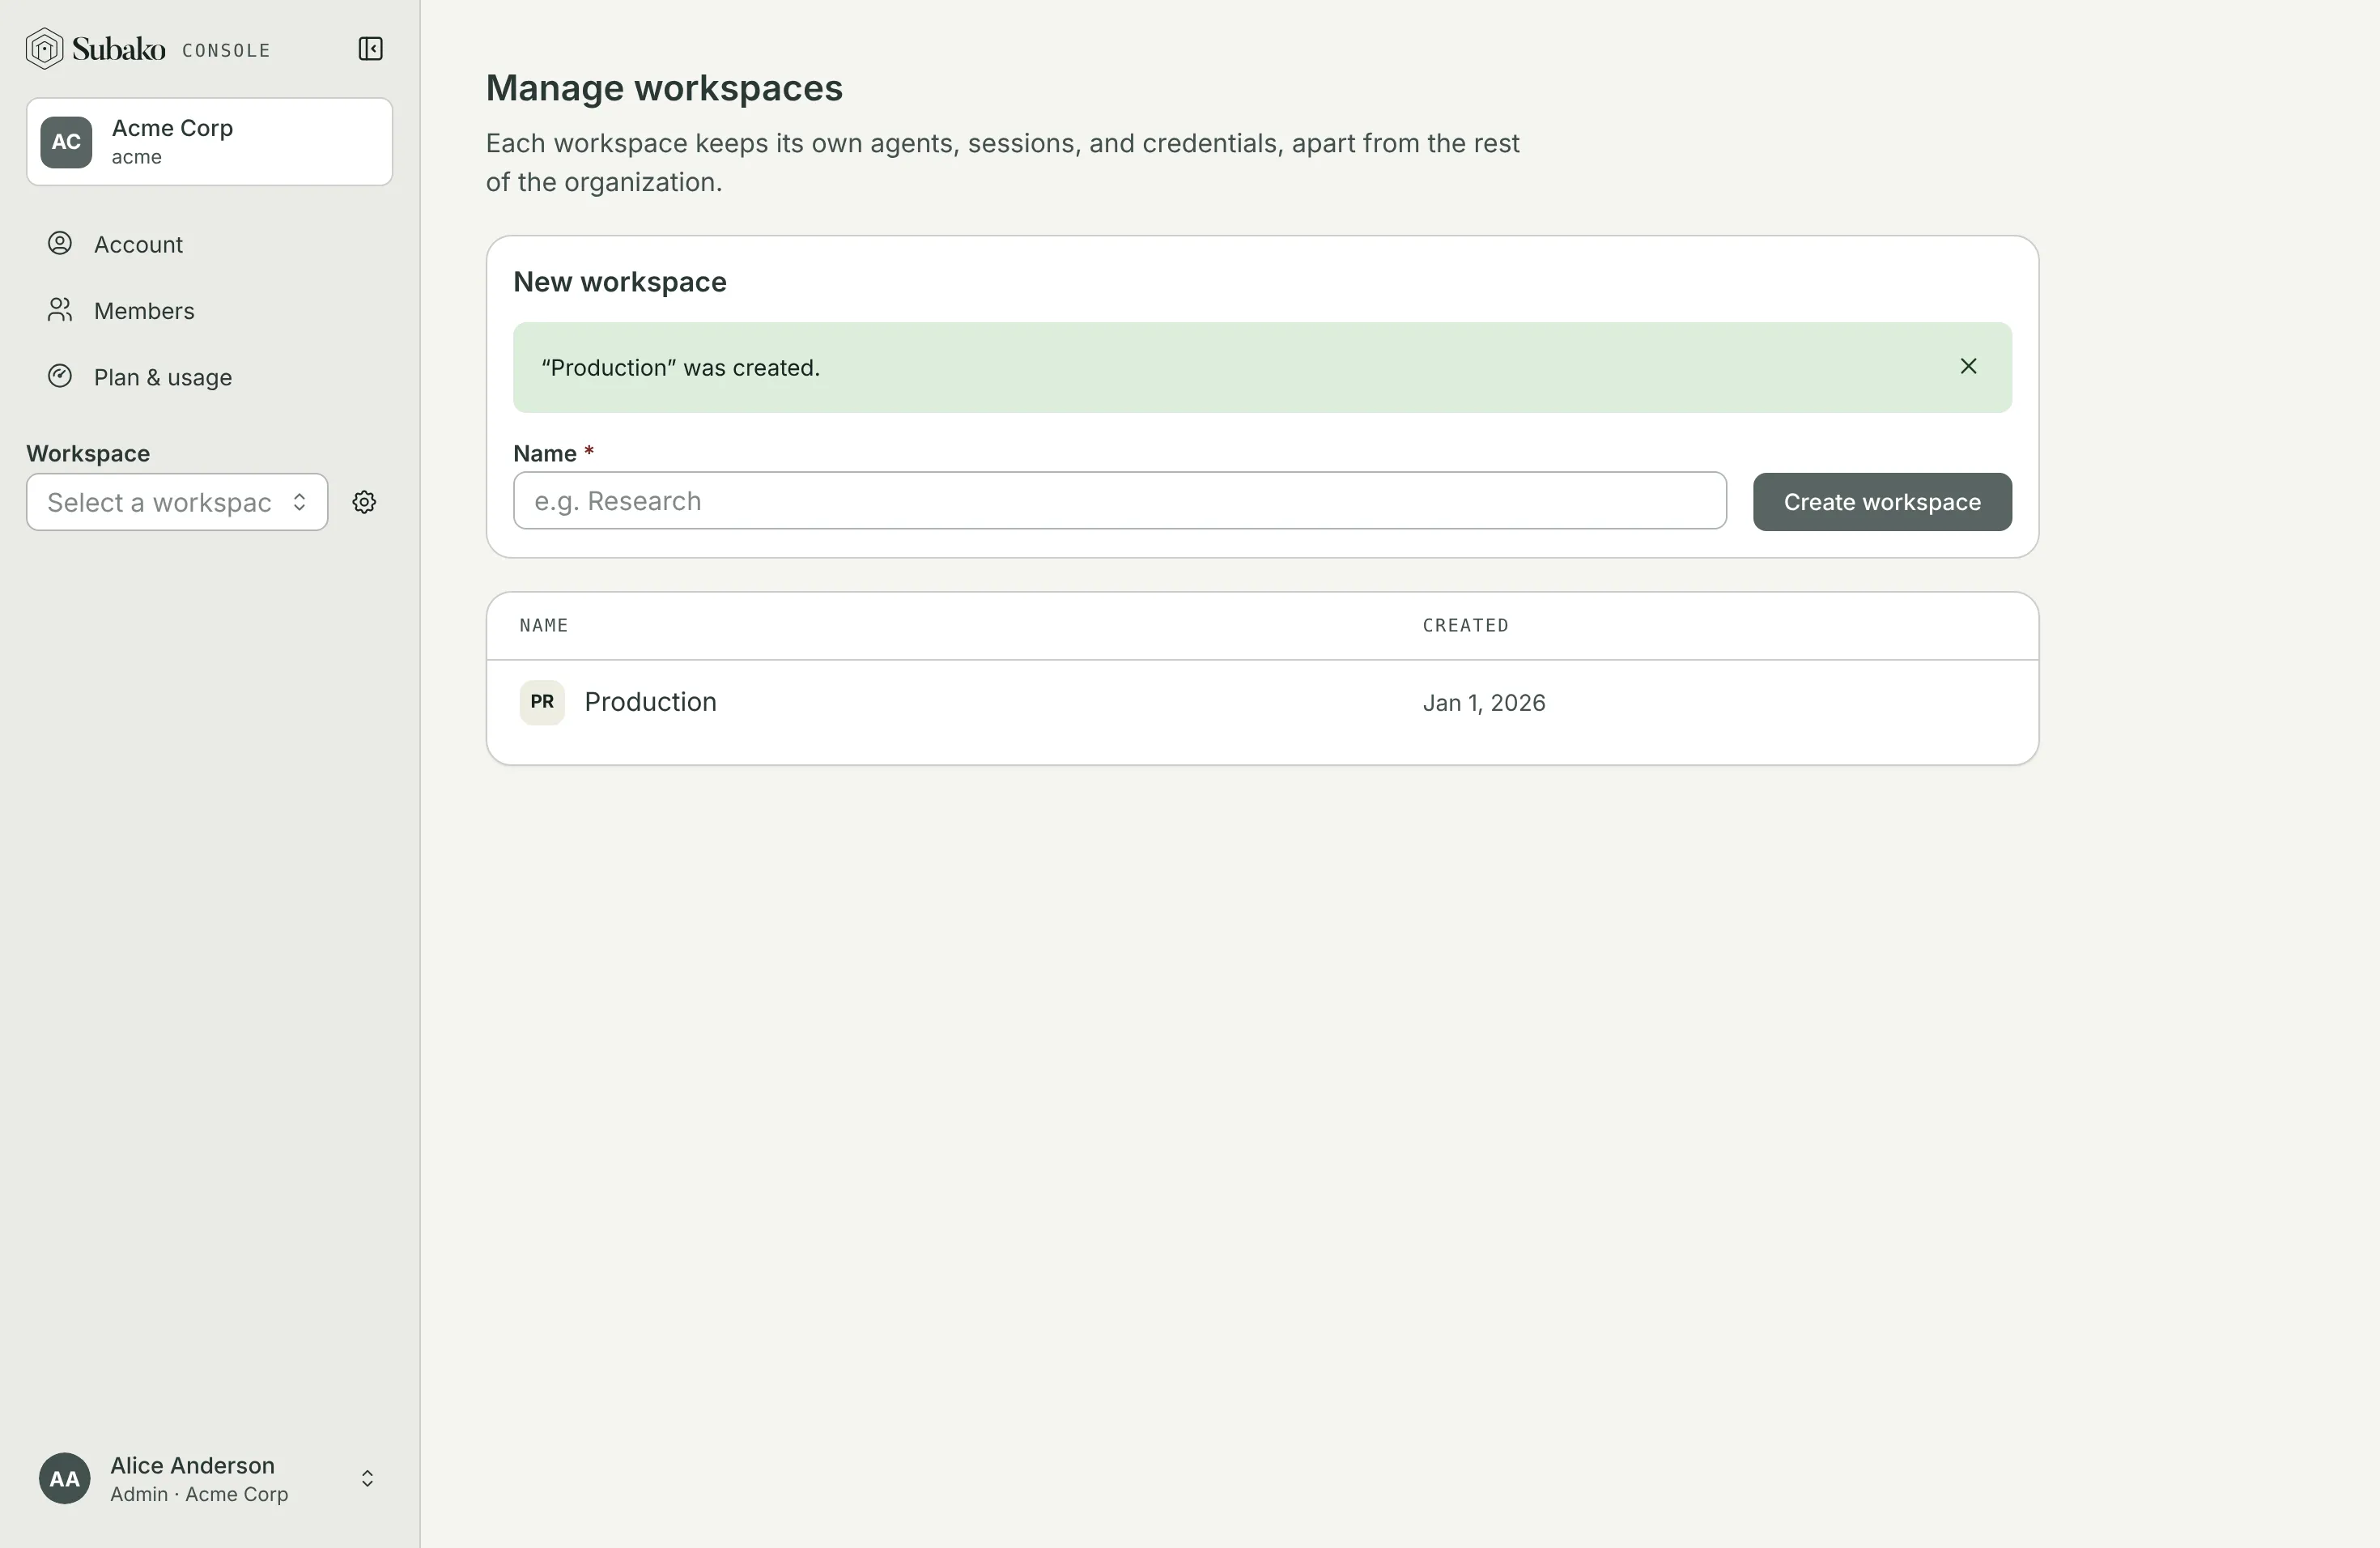
Pick it in the sidebar’s Workspace selector. The workspace’s own pages appear below it.
Publish an agent
Create the agent
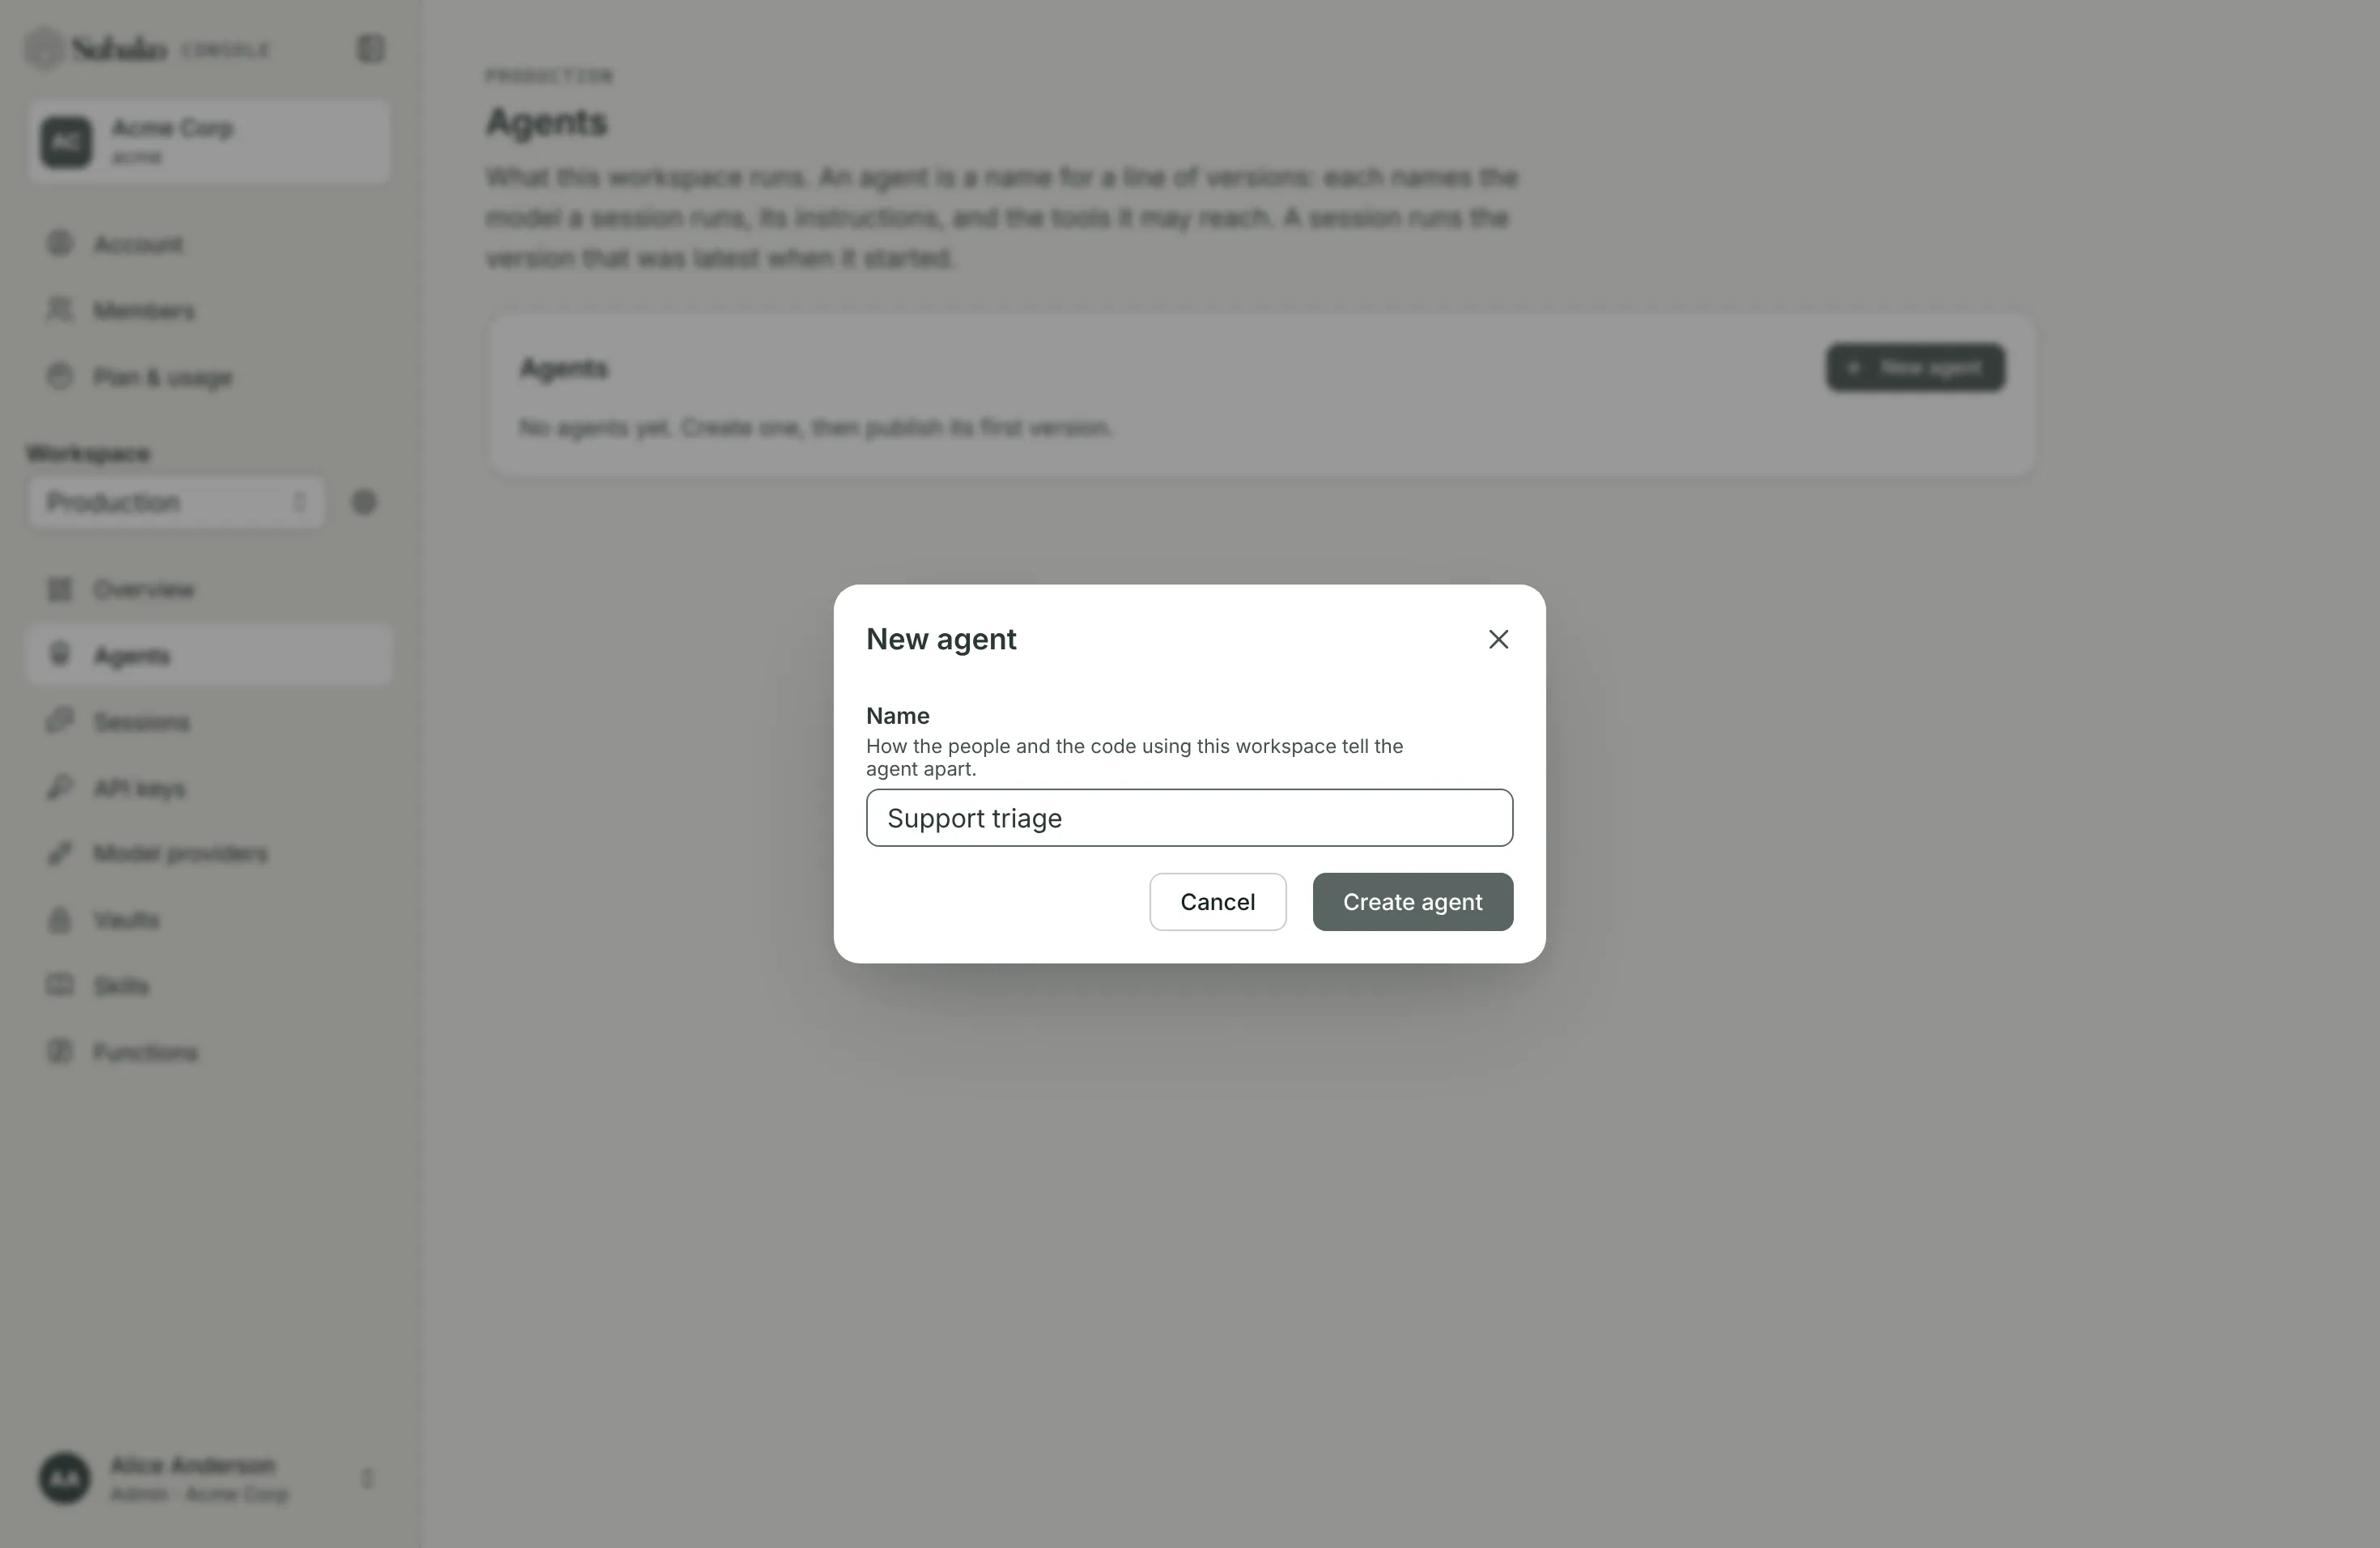
Open Agents and choose New agent. An agent is a name for a line of versions; give it one people will recognize.
Choose a model
The new agent has no version yet, so no session can start on it. Choose Publish first version. Under Provider and model, pick Subako (offered by the platform, paid for from your credit, no key needed) and one of its models.
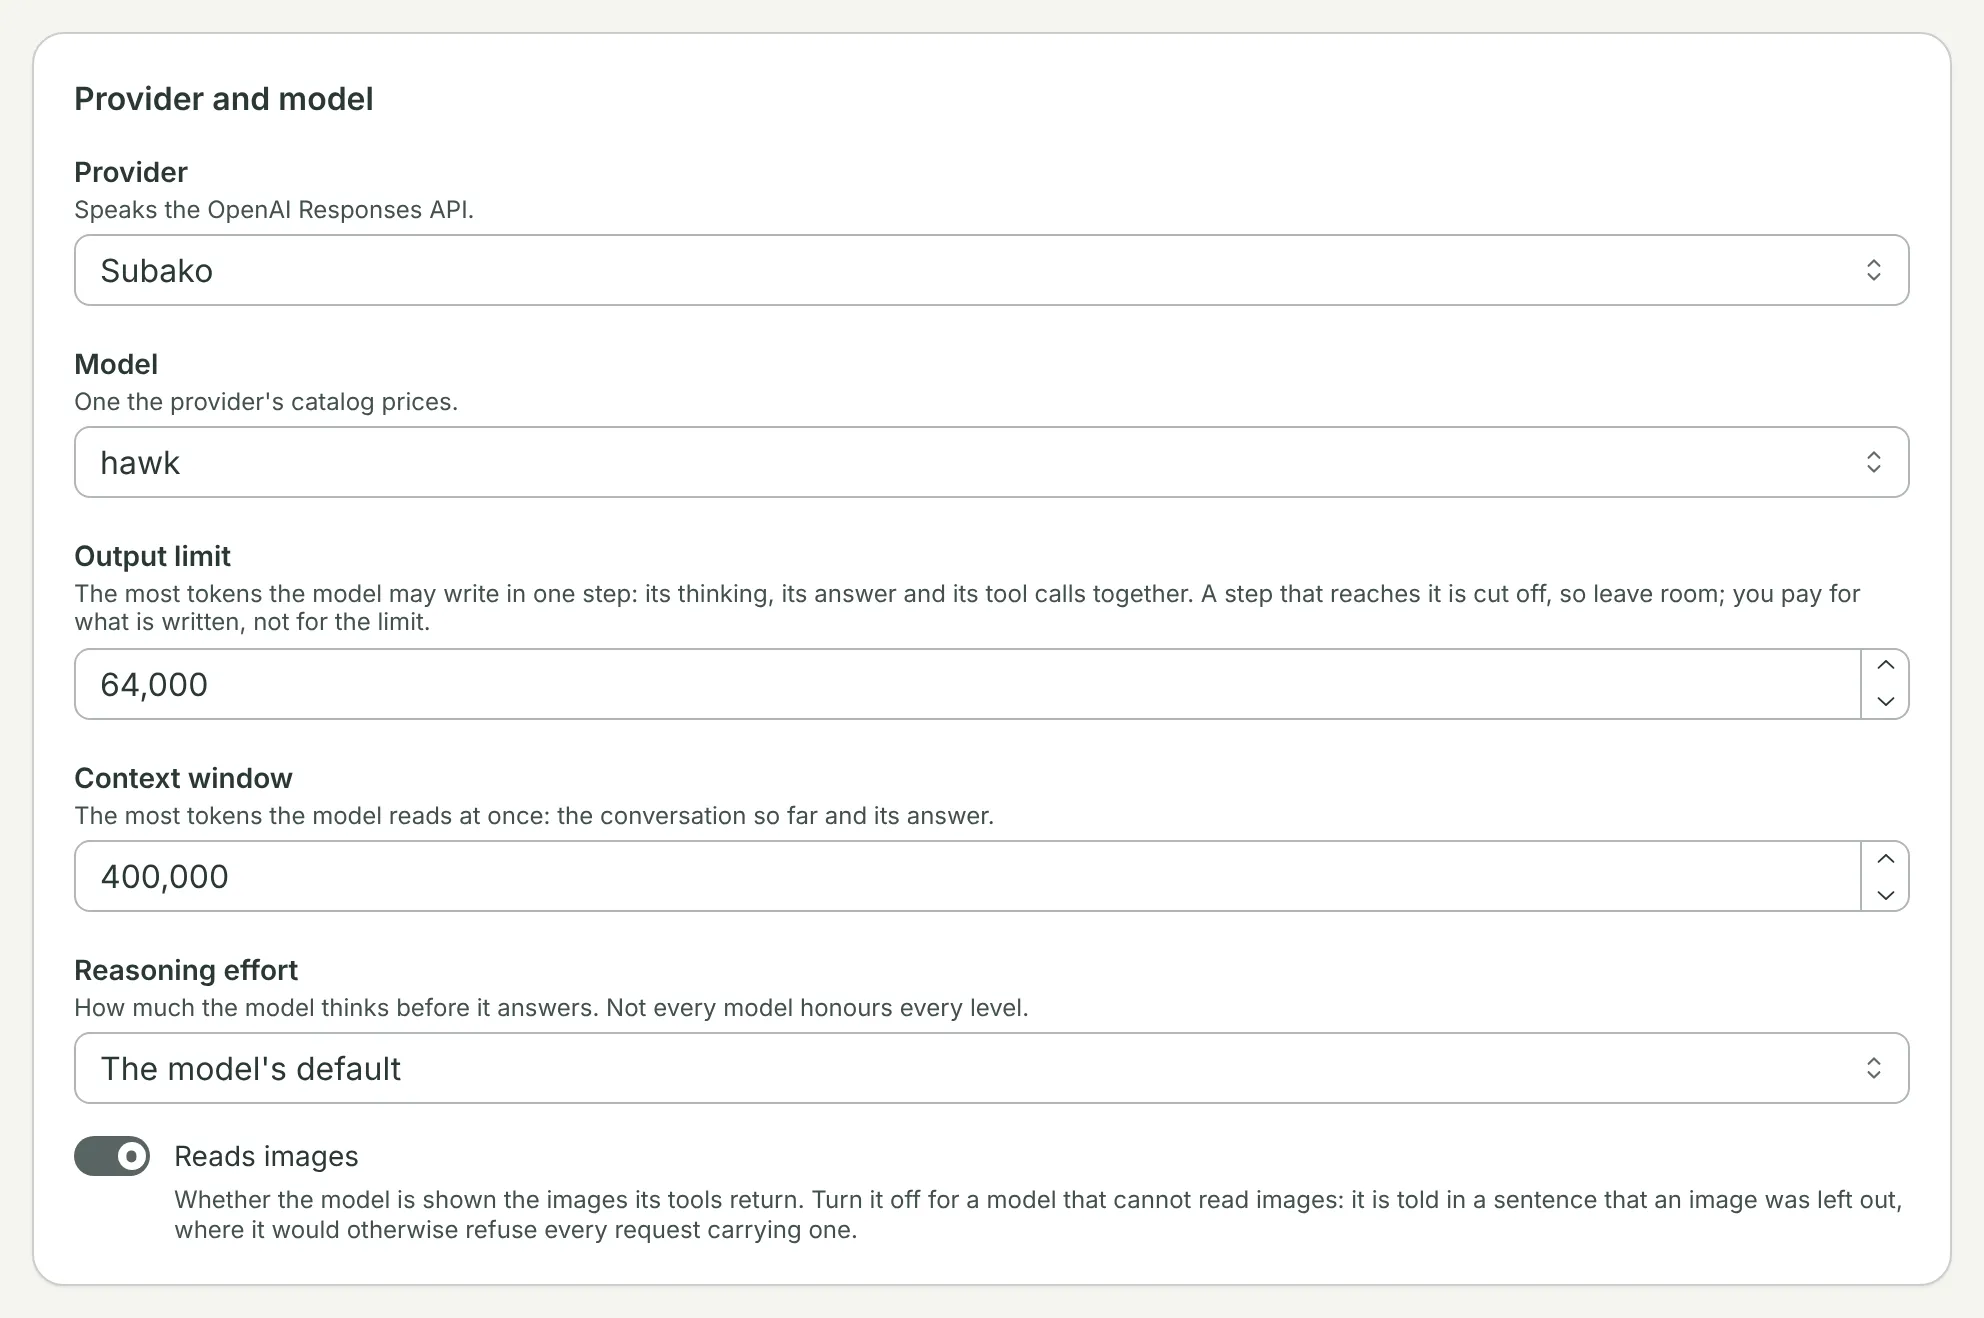
| Model | For |
|---|---|
sparrow |
Simple, high-volume agent tasks |
crow |
Balanced capability and cost for everyday tasks |
hawk |
Complex reasoning and coding tasks |
To run on your own Anthropic or OpenAI account instead, connect it first — see Model providers.
Tell it what it is for
The System prompt is what the model is told before every conversation.
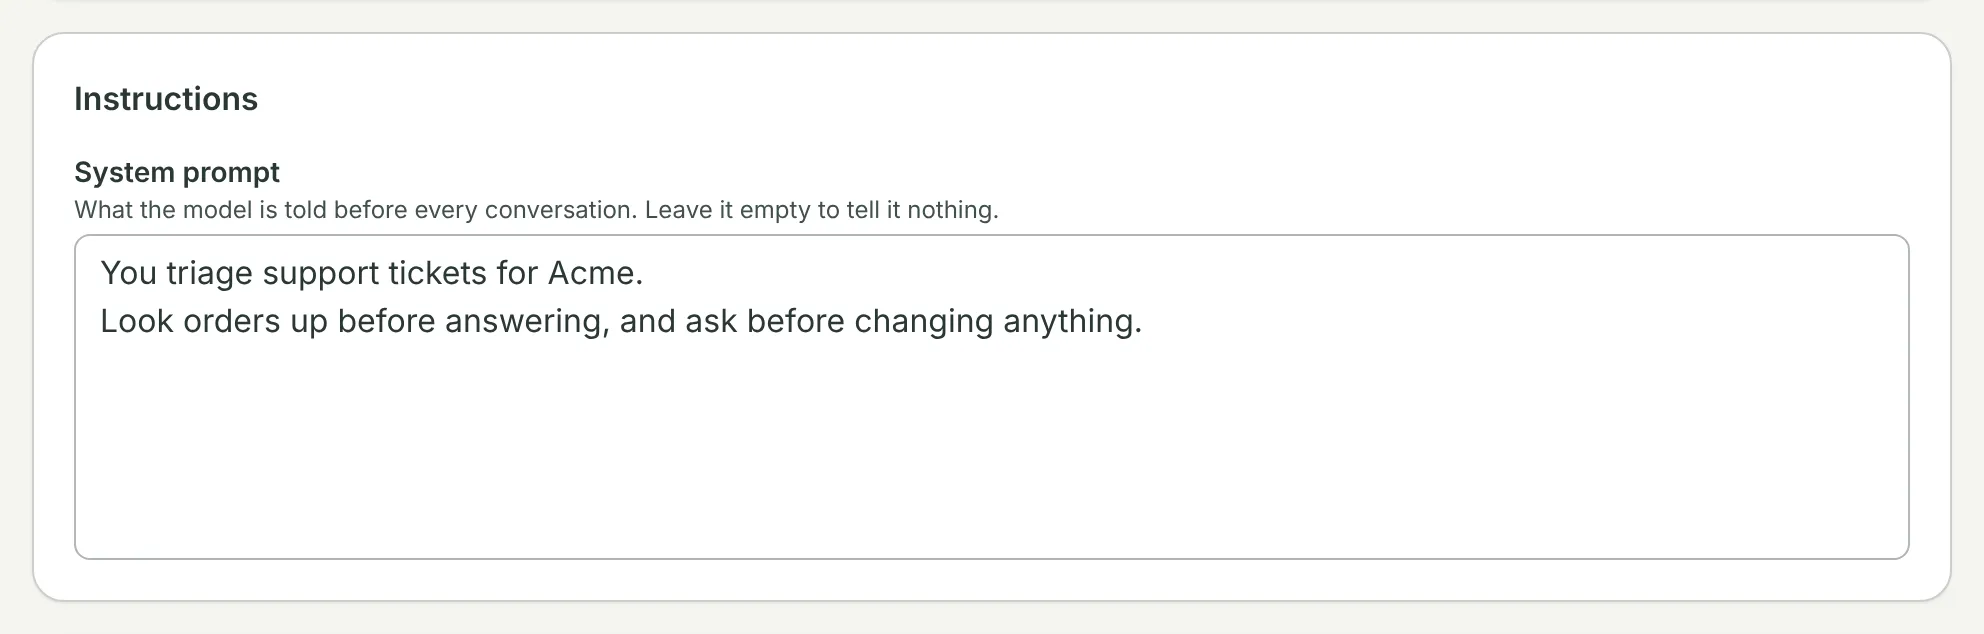
Tools is where you would grant MCP servers, skills, sandboxes, and function packages. None are needed for a first conversation; Agents and versions covers each.
Publish it
Choose Publish version 1. The agent’s page now shows the version, and new sessions run it.
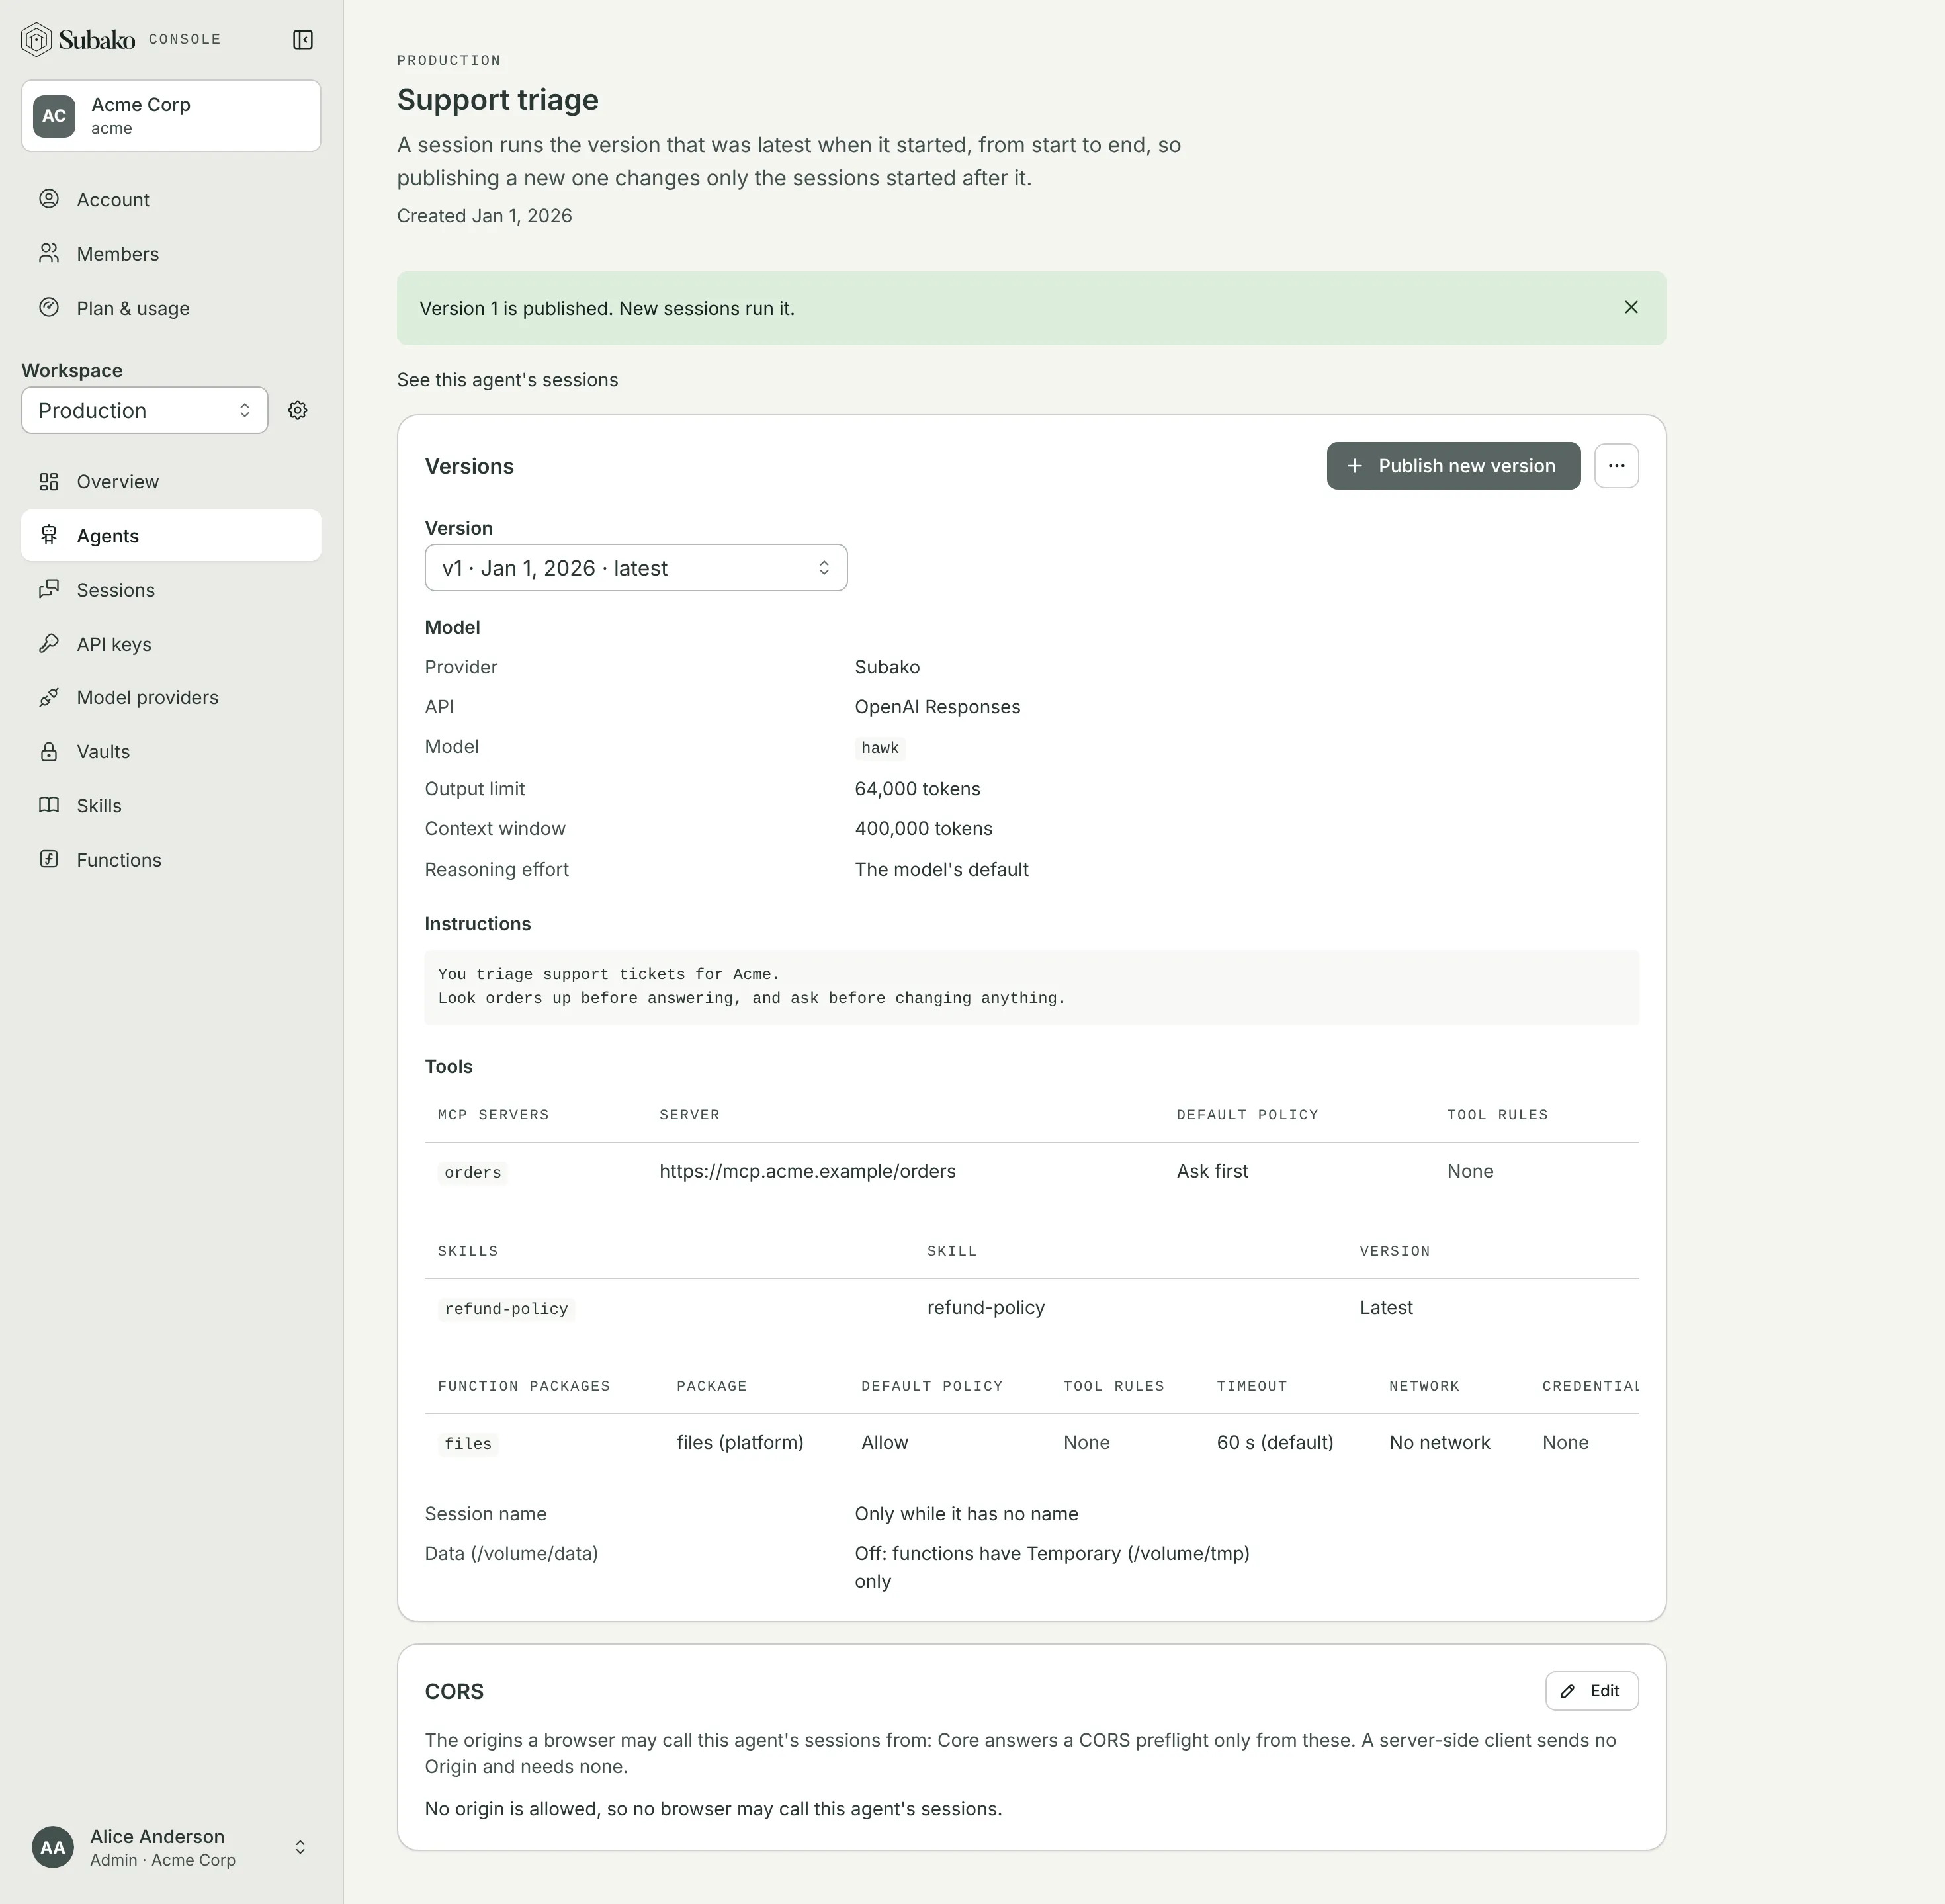
A version never changes once published. Publishing again makes version 2: sessions started after that run it, and sessions already running keep the version they started on.
Talk to it
Start a session
Open Sessions and choose New session. Pick the agent, and give the session a label if you like.
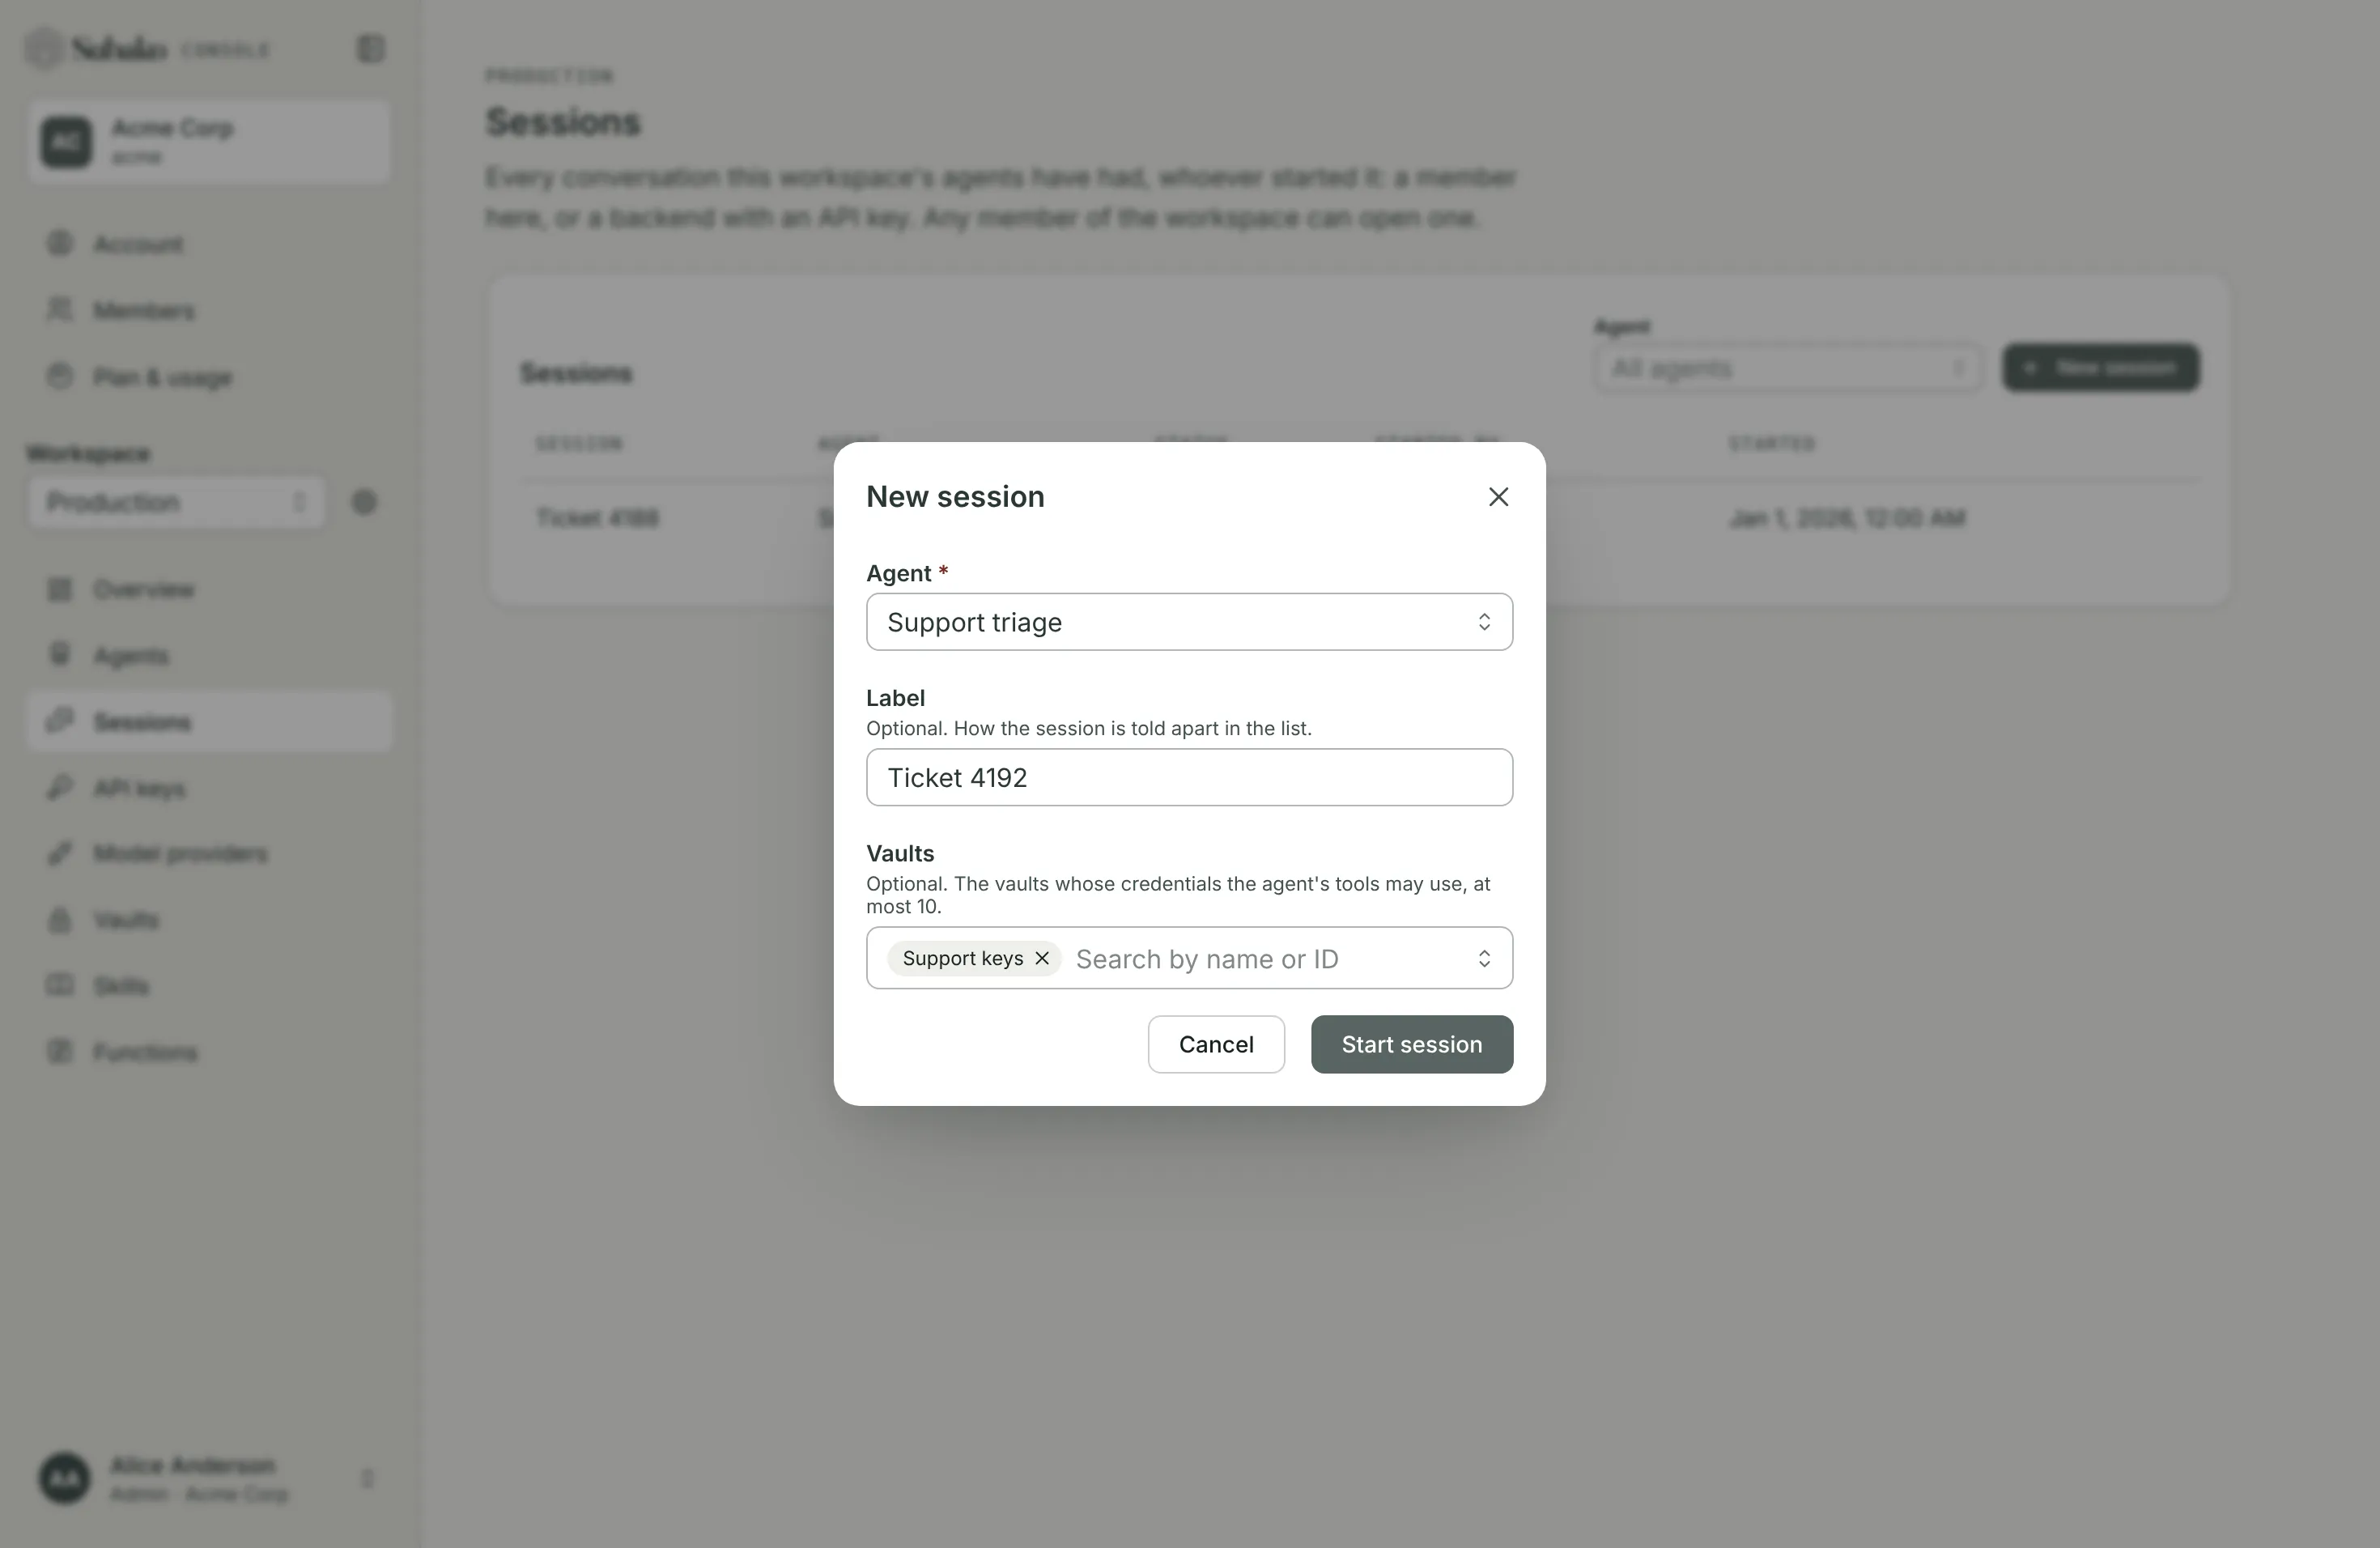
Say something
Type in Message and press Enter. The reply streams in as the agent writes it, with what it thought and every tool it called along the way.
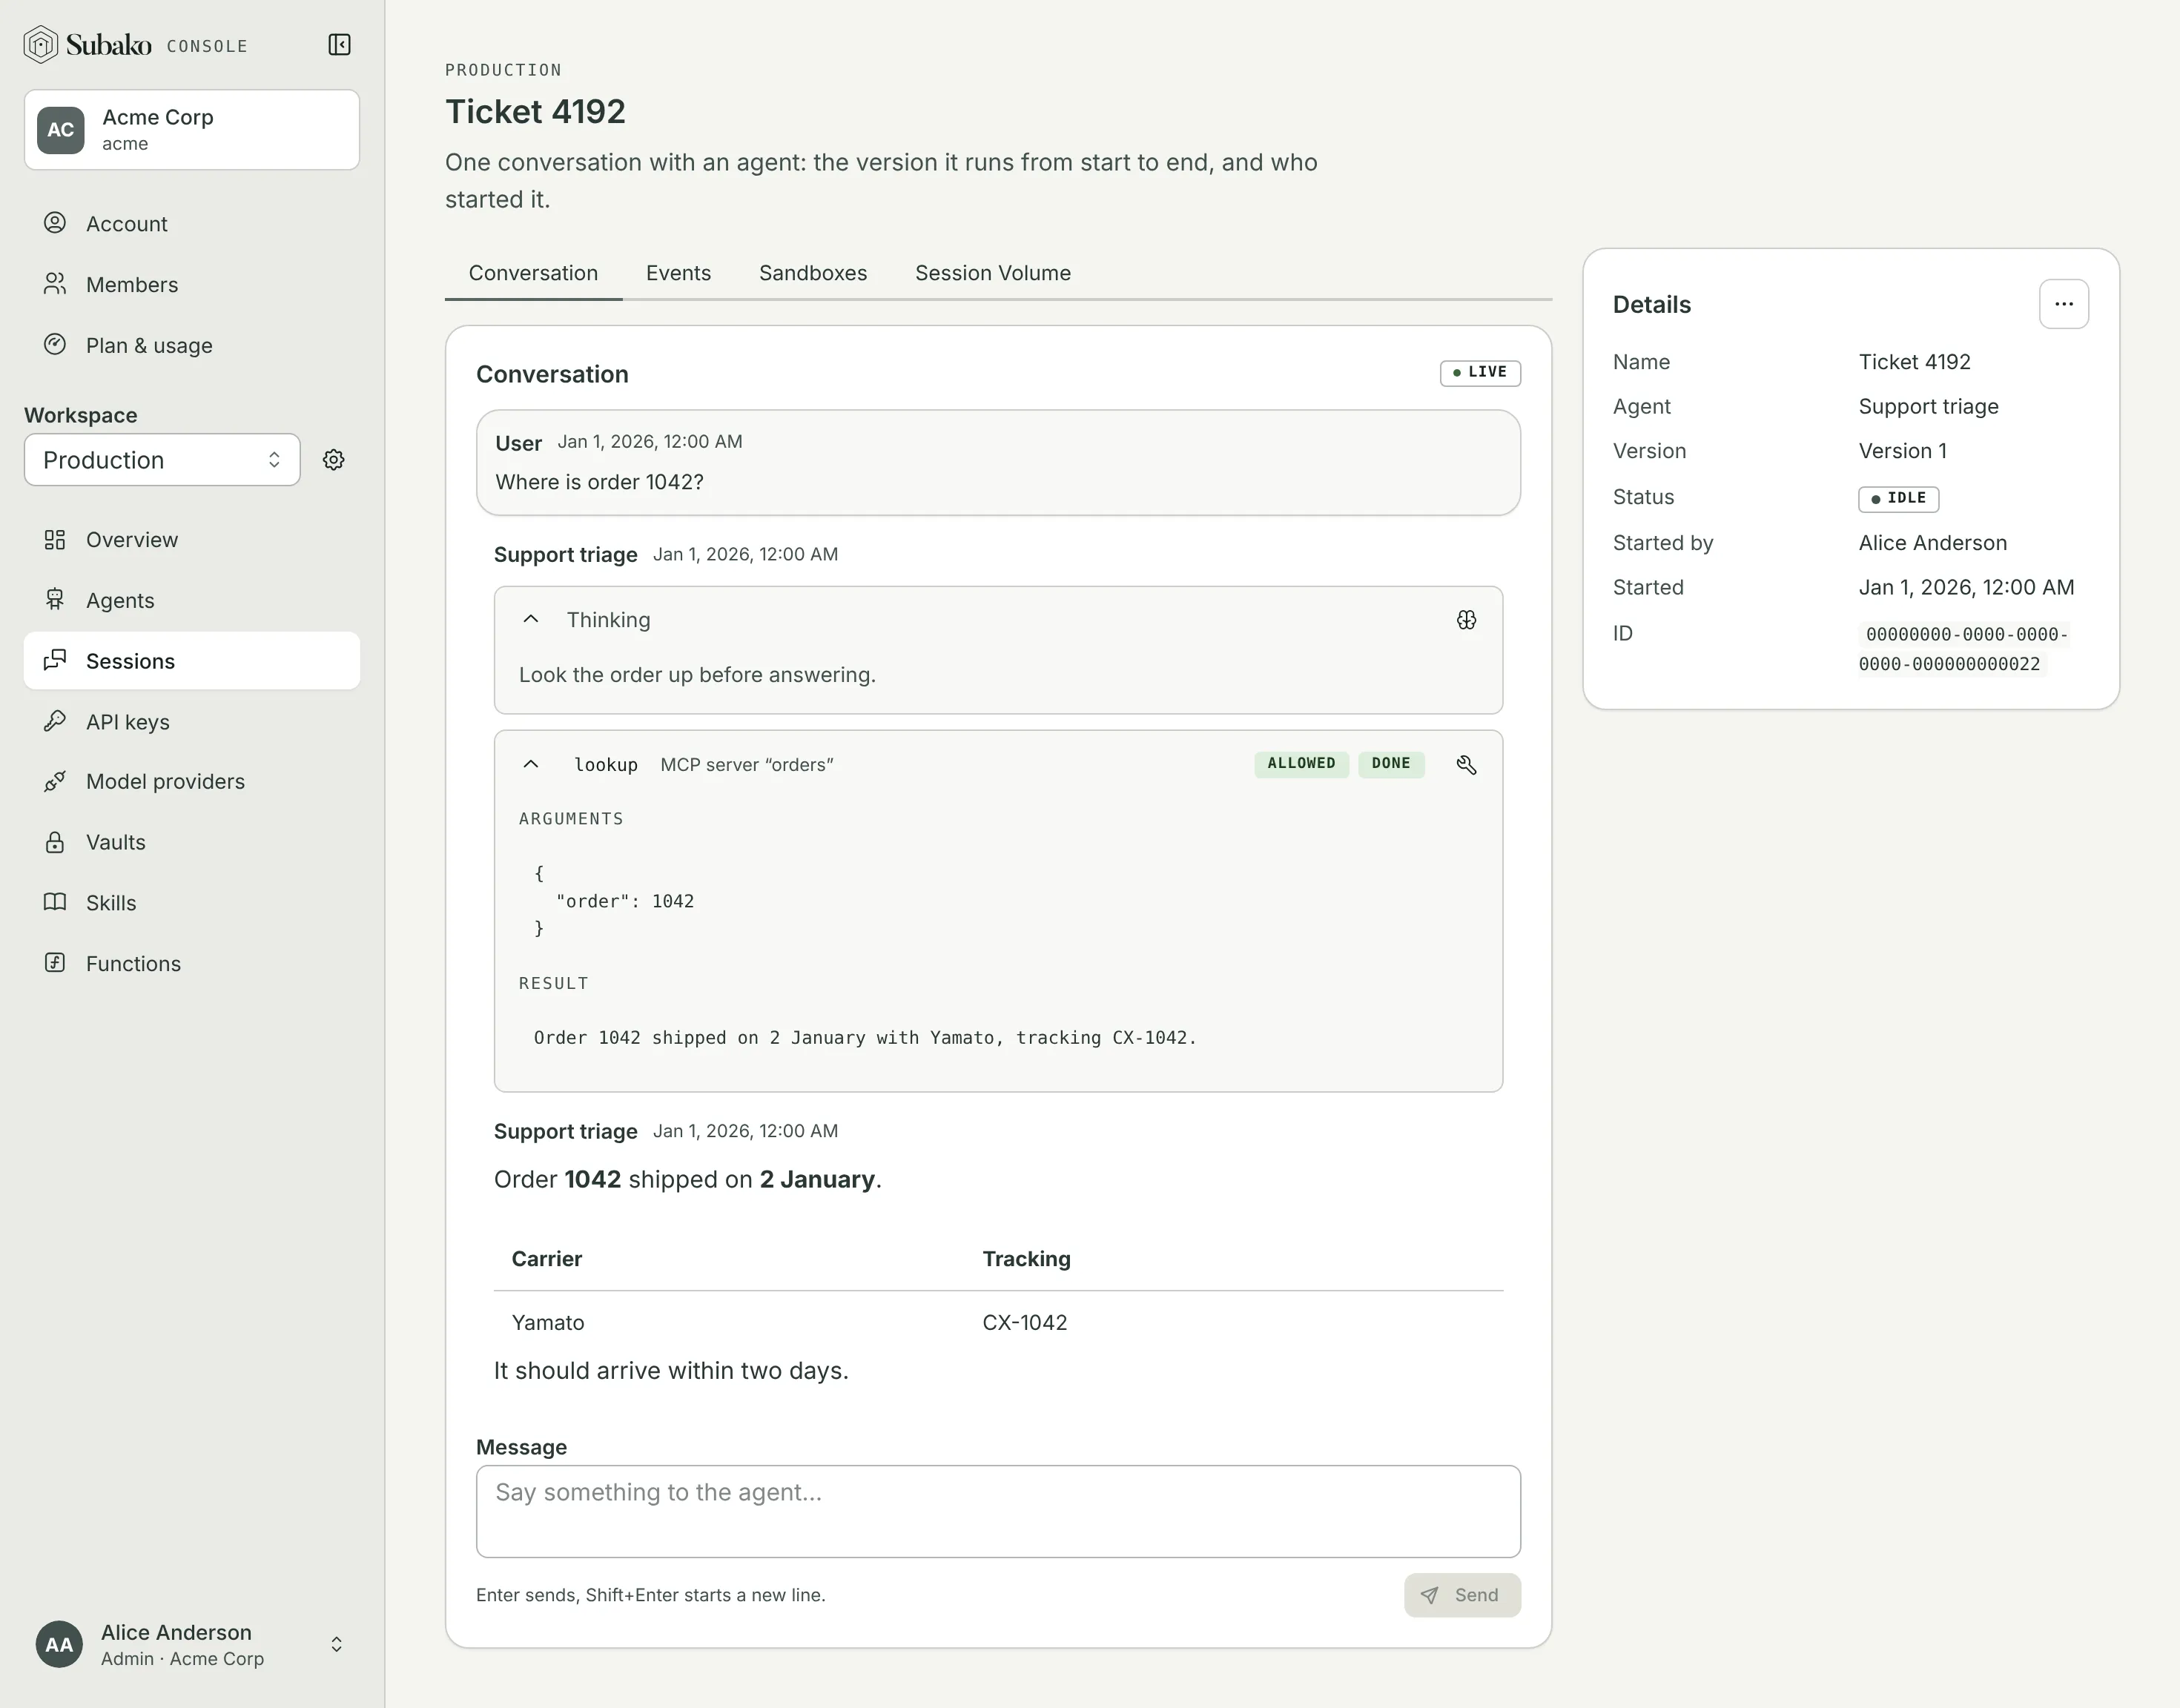
Close the tab, come back later, open the session again: the conversation is where it was, because it lives in Subako, not in your browser.
Call it from your code
The console is one client of the Core API. Your product is another: a backend holding an API key creates sessions, and each session hands out a session token that is good for that one session alone.
Mint an API key
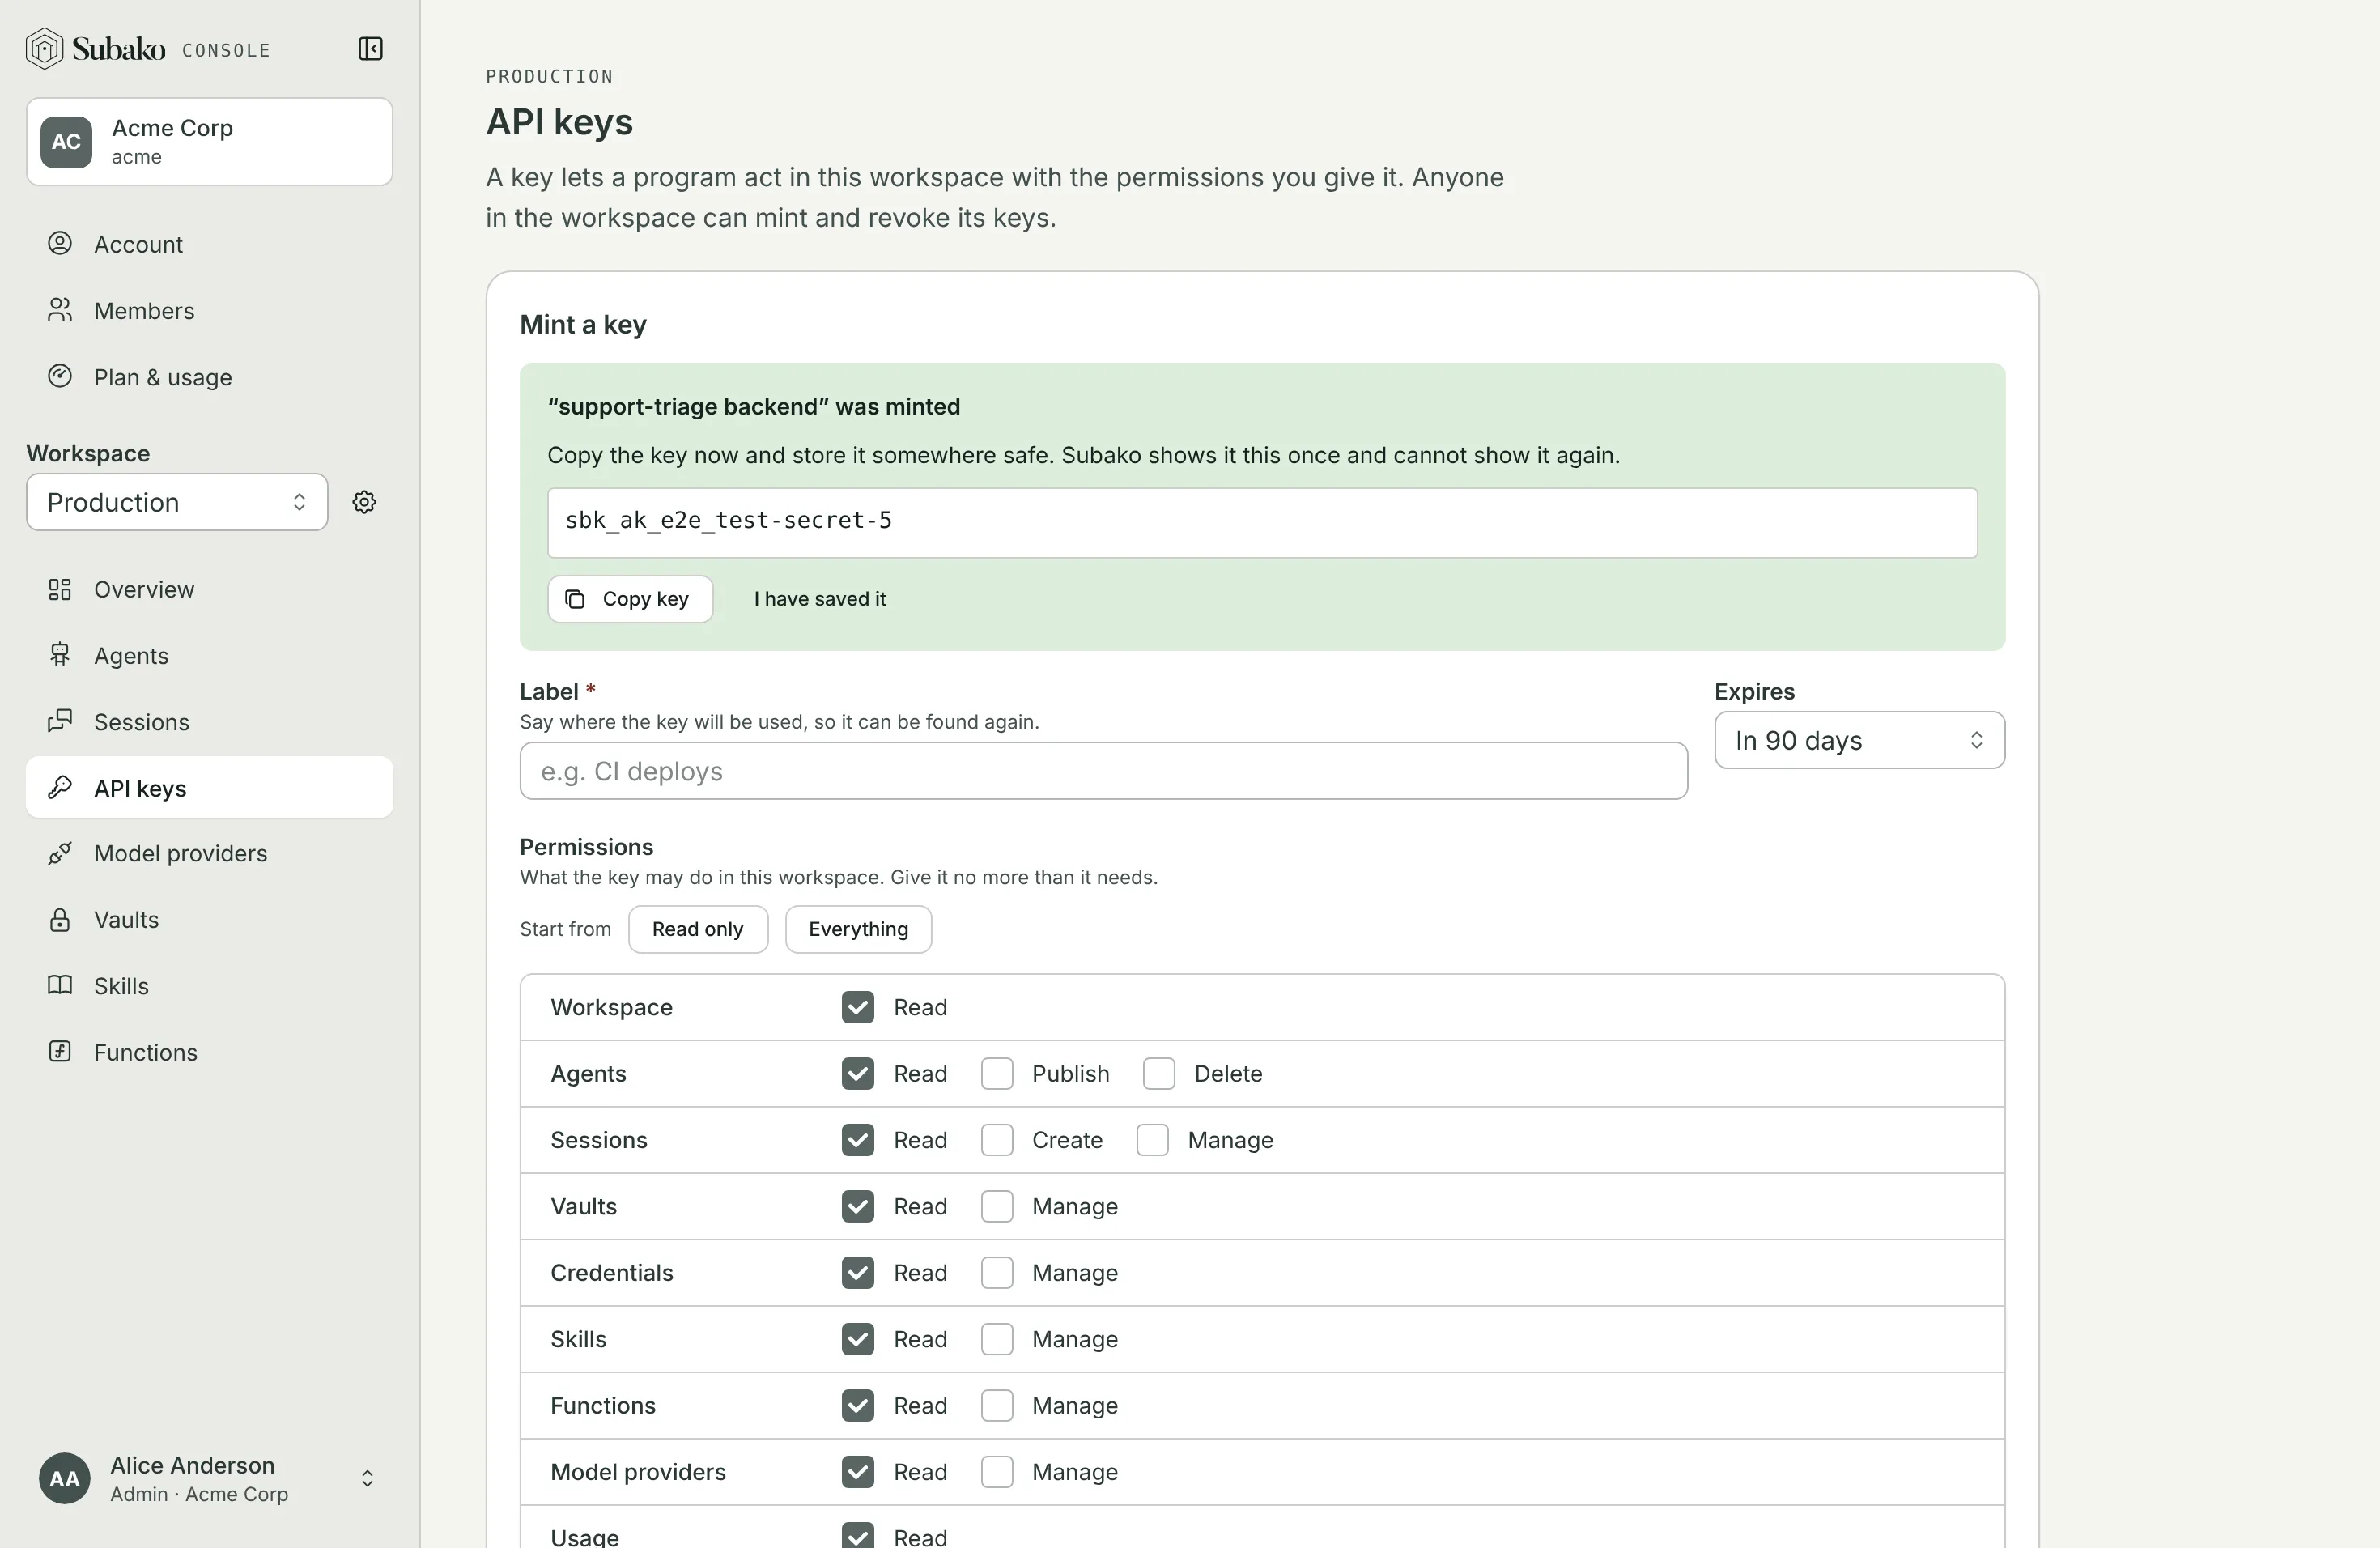
Open API keys. Label the key after where it will be used, and tick what it may do: for this page, Sessions › Read, Create and Manage. Mint key shows the secret once — copy it.
export SUBAKO_API_KEY=sbk_ak_...Create a session
The agent’s ID is in its page’s Agent actions menu (Copy agent ID).
curl -X POST https://api.us.cloud.subako.ai/v1/sessions \
  -H "Authorization: Bearer $SUBAKO_API_KEY" \
  -H "Content-Type: application/json" \
  -d '{"agent_id": "<agent-id>", "display_name": "ticket-4192"}'
{
"id": "01a0877f-d3b3-7e73-9eed-a16caee8cff7",
"status": "idle",
"session_token": "sbk_st_...",
"session_token_expires_at": "2026-09-09T19:48:16Z"
}export SESSION_ID=<id>
export SUBAKO_SESSION_TOKEN=<session_token>Send a message and follow the run
Everything inside the session takes the session token — the credential you would hand a browser, while the API key stays on your server.
curl -X POST https://api.us.cloud.subako.ai/v1/sessions/$SESSION_ID/events \
  -H "Authorization: Bearer $SUBAKO_SESSION_TOKEN" \
  -H "Content-Type: application/json" \
  -d '{"type": "input", "text": "Summarize ticket 4192."}'

curl -N "https://api.us.cloud.subako.ai/v1/sessions/$SESSION_ID/events/stream?after_seq=0" \
  -H "Authorization: Bearer $SUBAKO_SESSION_TOKEN"
Events arrive as server-sent events, each with the sequence number a
reconnect resumes from. The run is over at run_completed, run_failed,
or run_cancelled; the stream stays open for the next one.
The session you created this way is in the console’s Sessions list too, started by your API key.